Oygen Sensor Replacement
Instructions & Repair
A defective oxygen sensor means you won’t receive an emissions sticker/inspection pass. The reason for this is that a defective oxygen sensor could distort the emission values. Additionally, the oxygen sensor affects the air-fuel mixture.
A detailed guide for replacing a diagnostic sensor depends on the specific vehicle model and the condition of the sensor. However, this article serves as a general guide you can follow to replace the diagnostic sensor.
Video for this Article
Step 1: Find the right Sensor
In principle, you need to differentiate between two types of oxygen sensors:
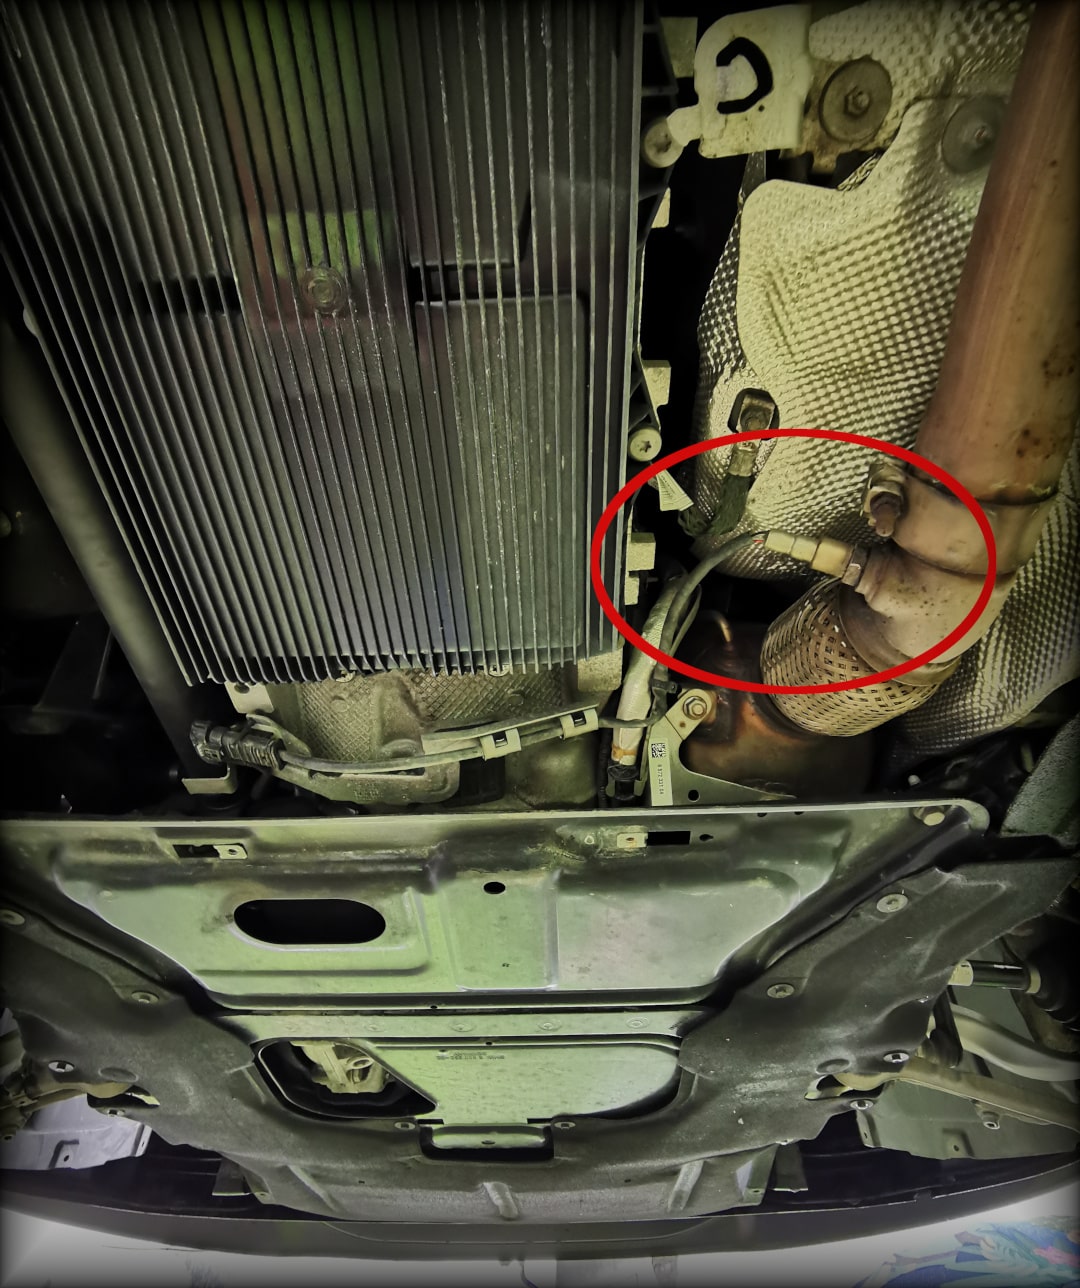
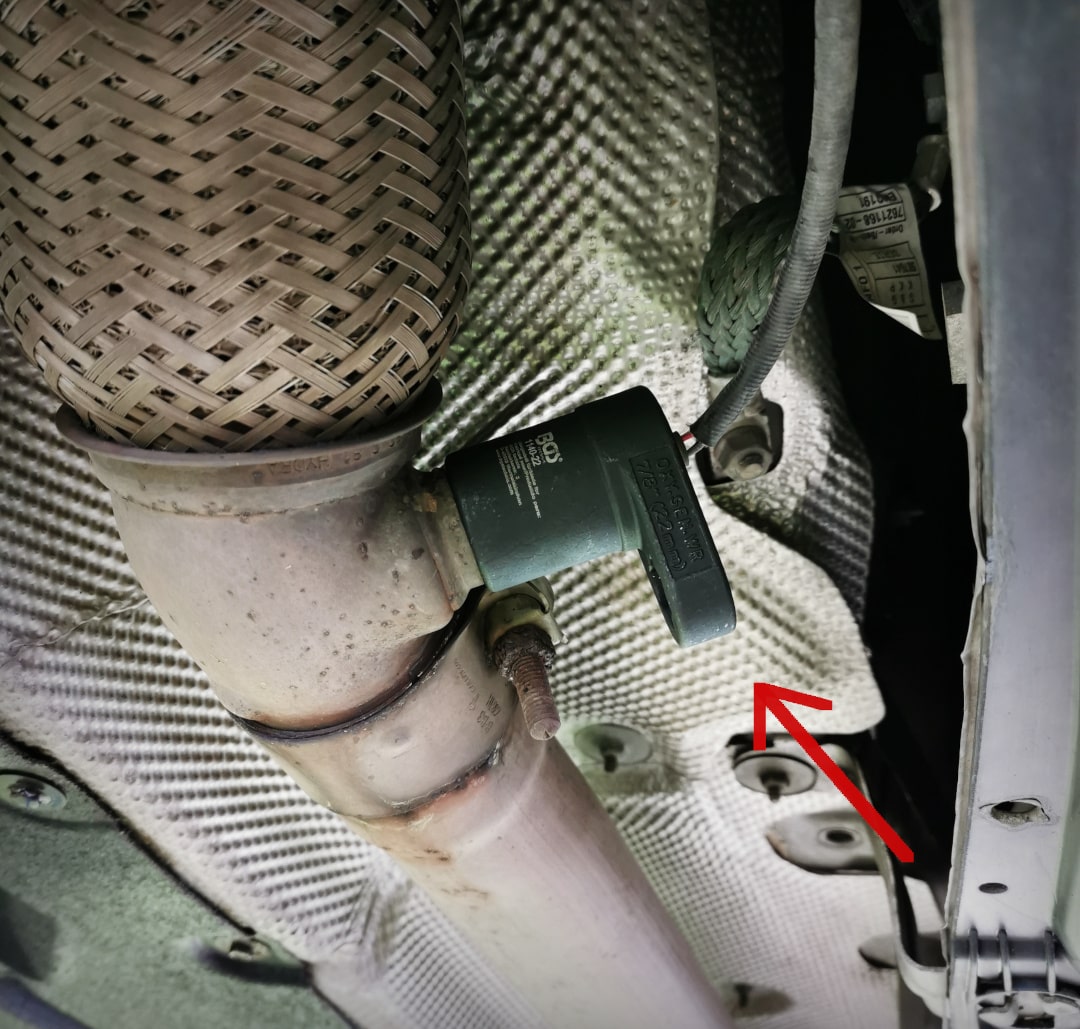
Basically you will find the Control sensor BEFORE the catalytic converter and the Diagnostic probe AFTER the catalytic converter. The exact functional description of the two probes can be found in this article:
-> Oxygen Sensor Function
When ordering the new diagnostic probe, you should also check the Correct part number pay attention.
-> Buy on Motintegrator.de *
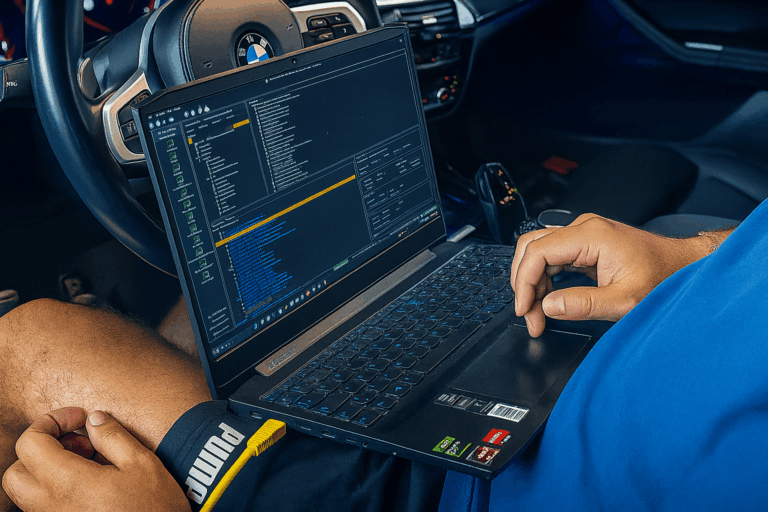
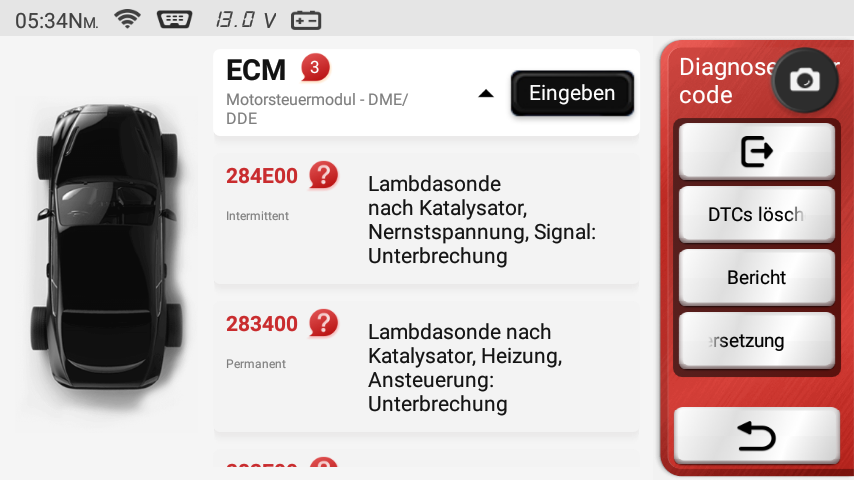
The diagnostic sensor usually has a longer cable than the control sensor. Depending on the error code, you can locate the respective sensor and gain access.
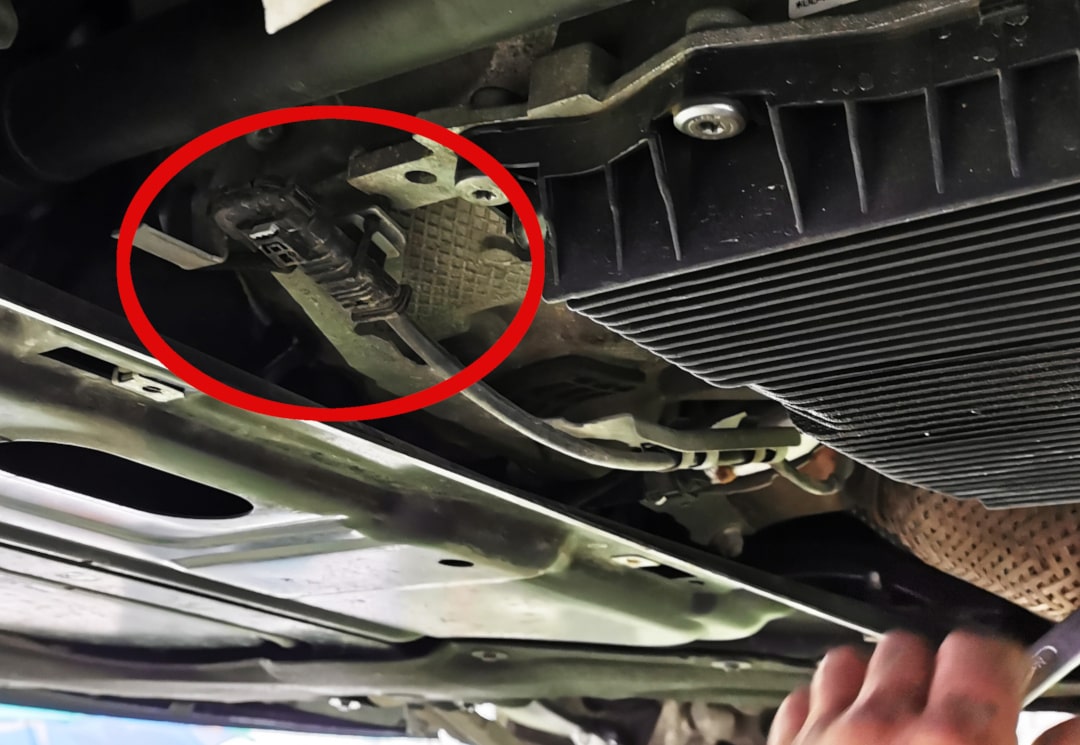
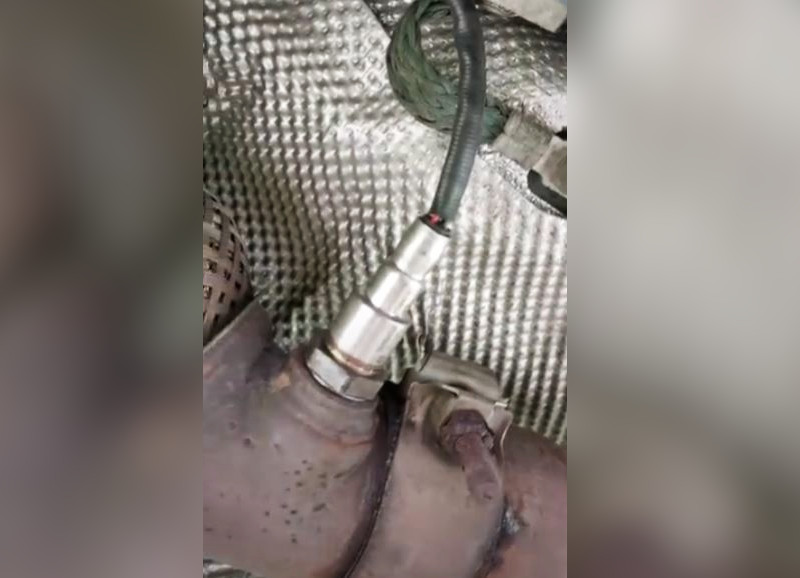
Also, make sure that the car is turned off and cooled down. The diagnostic sensor to be replaced is usually located immediately after the flexible pipe. First, you need to gain access under the car.
If you don't have many options to lift your car, we recommend purchasing ramps. * The ramps also offer you some flexibility. This way, you can work under your car, whether you're in the garage or on a regular outdoor parking spot.

- [Praktisch] Höhenverstellbare Auffahrrampe von 290 bis 375 mm, für zahlreiche Autos sowie Kleintransporter, Kfz, Anhänger usw.
- [Robust] Stabile Stahlkonstruktion (max. Belastbarkeit 2 t) mit einer Anfahr- und Überfahrkante an der höhenverstellbaren Hebe-Plattform.
- [Einfache Bedienung] Heben und Senken durch Hydraulikzylinder mit Sicherheits-/ Überdruckventil – ideal für Reparaturen und Wartungen am PKW und KFZ geeignet.
Step 2: Remove the defective Oxygen Sensor
Next, remove the connections to the sensor. Trace the cable of the oxygen sensor and remove the underbody protection under which the connector is located.
Next, remove the fastening screws or clips that hold the sensor after the catalytic converter. The old oxygen sensor is firmly attached to the pipe. Due to carbon buildup and age, it can be really difficult to remove the oxygen sensor. A adapter can help you grip the oxygen sensor more easily. This adapter* is also used in most workshops and doesn't cost much:

- from lambda sensor special insert set Art. 1140
- Width across flats: 22 mm
- Length: 50 mm
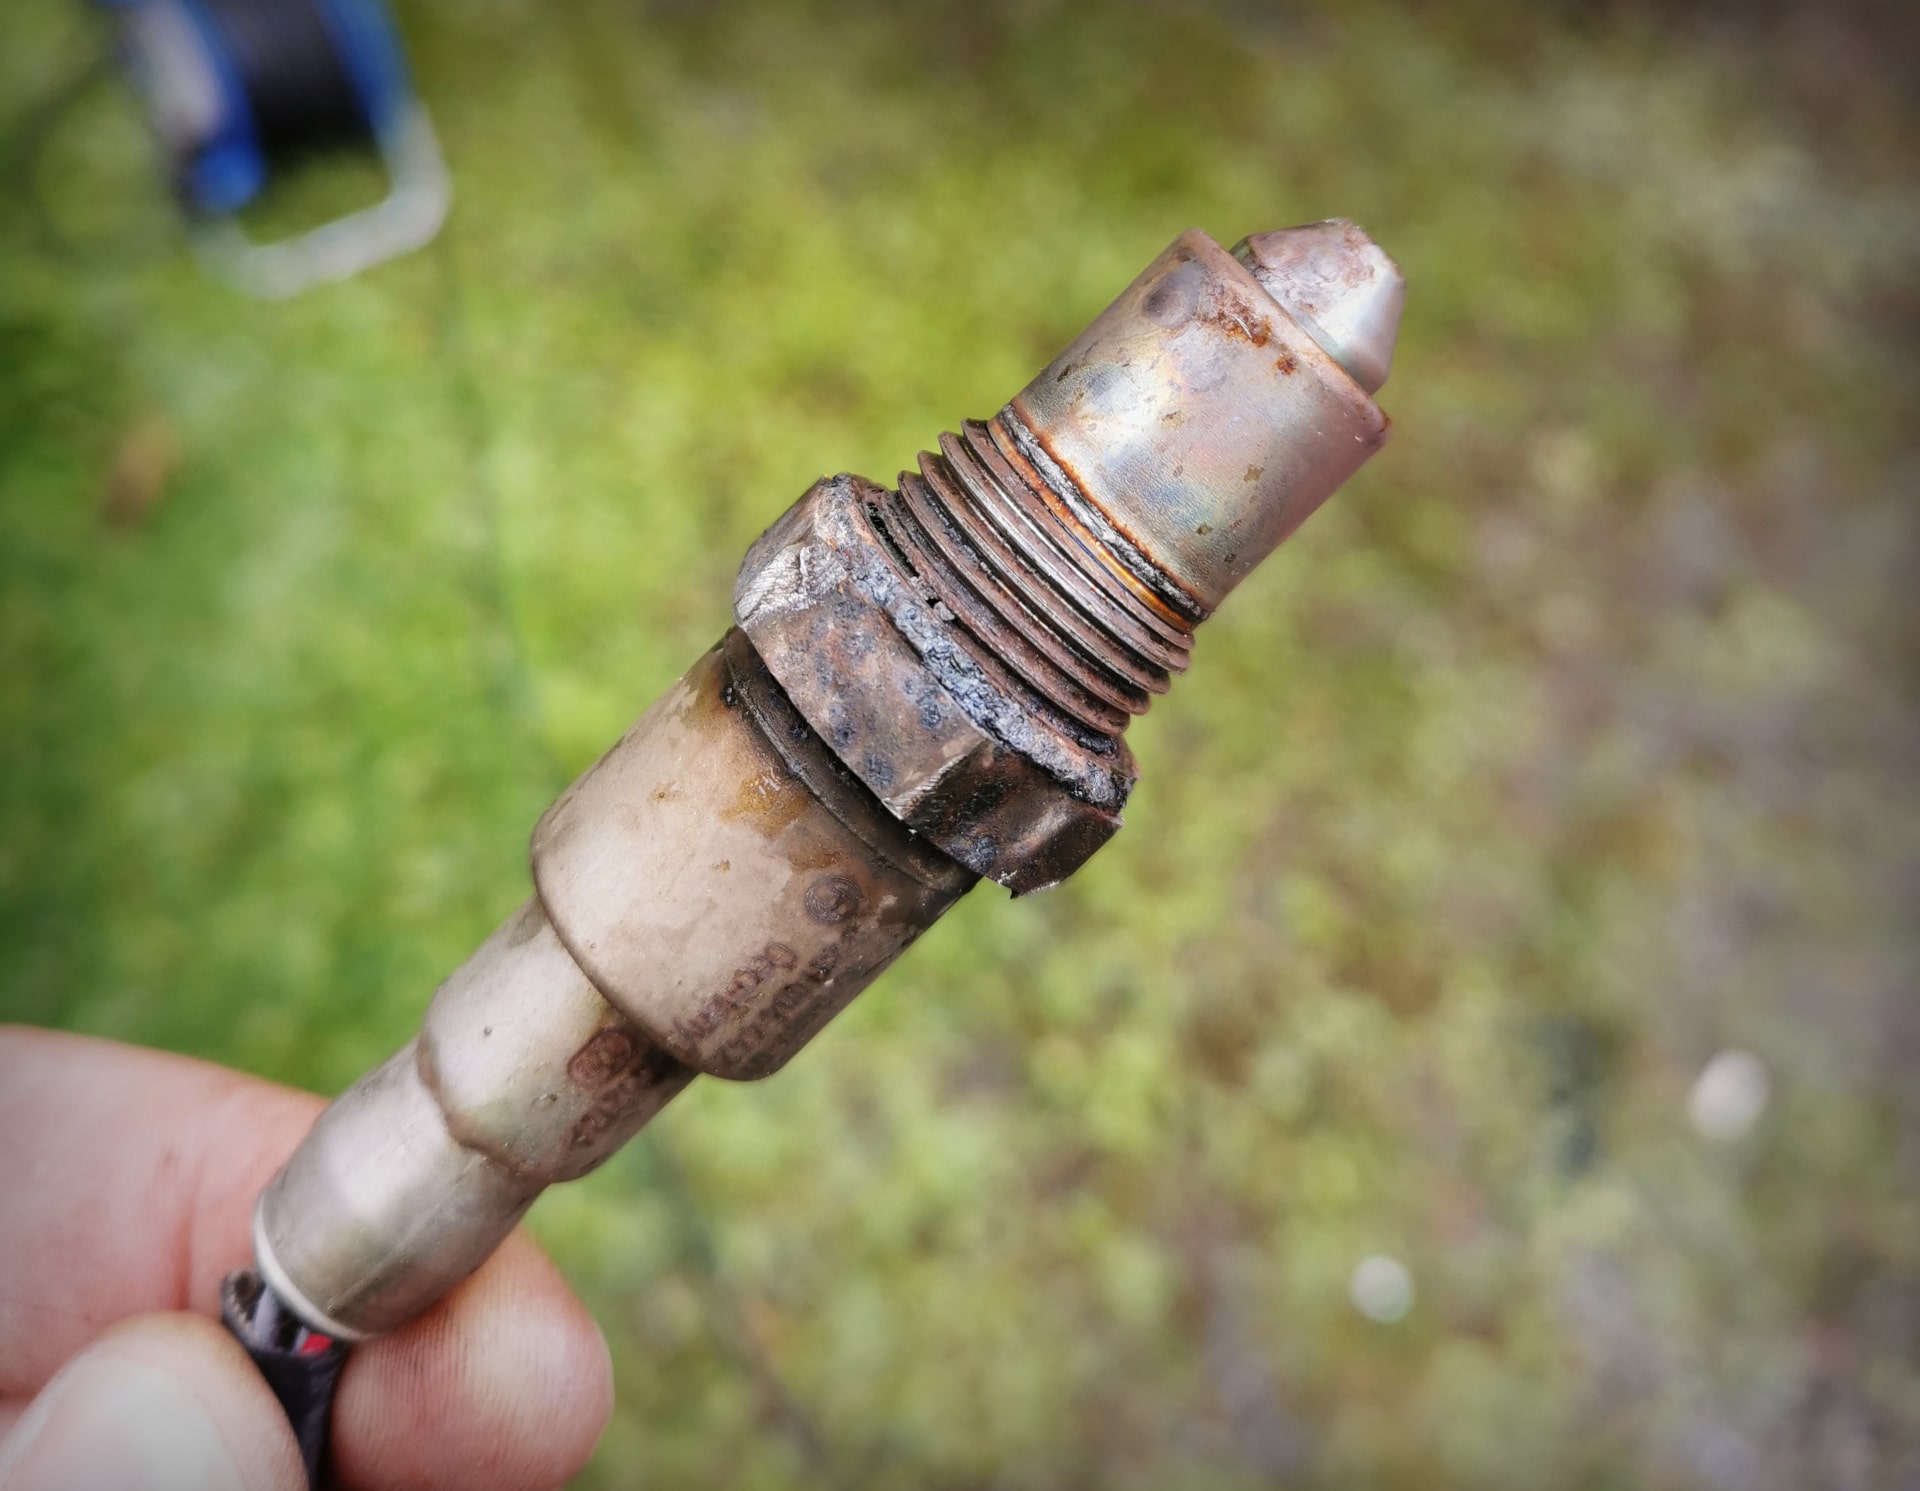
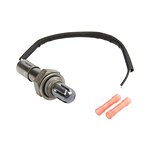
Once the old sensor is out, you can compare it with the new one to ensure that it has the same size and shape. The old defective oxygen sensor will look something like this:
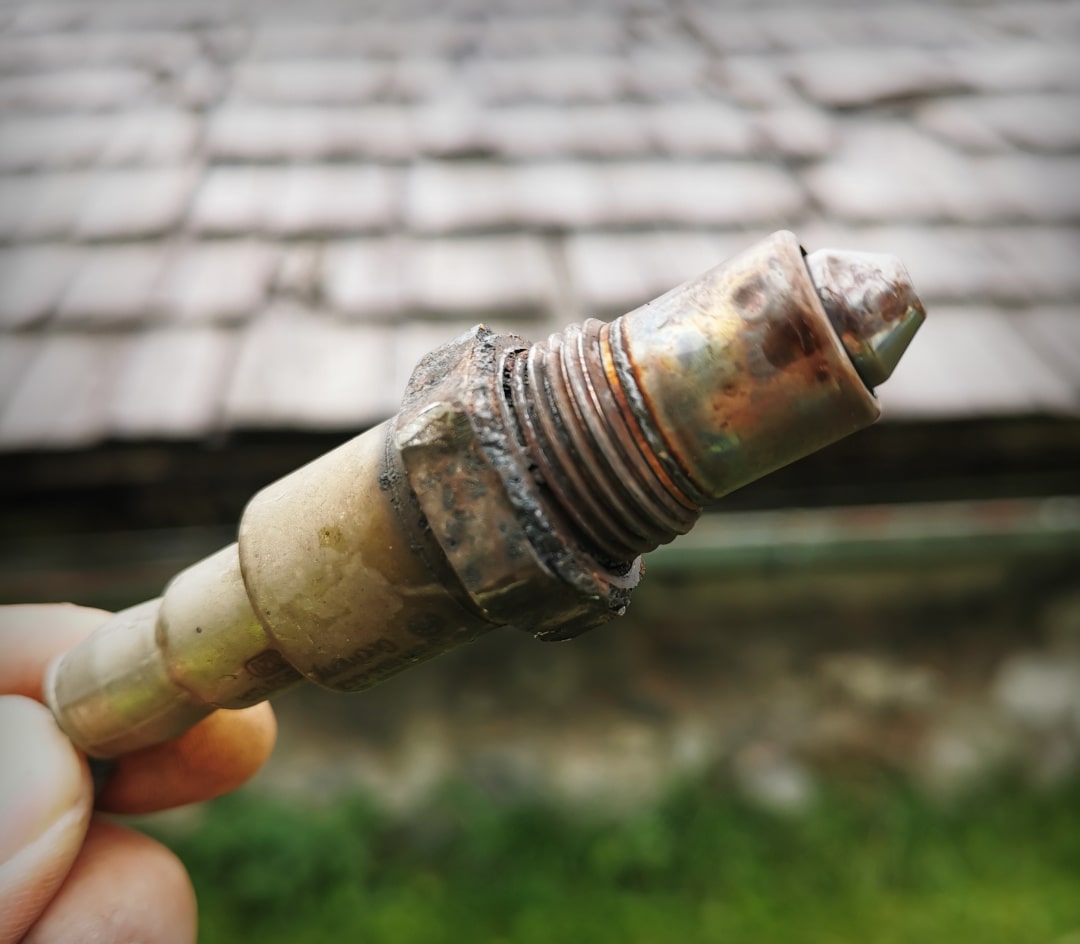
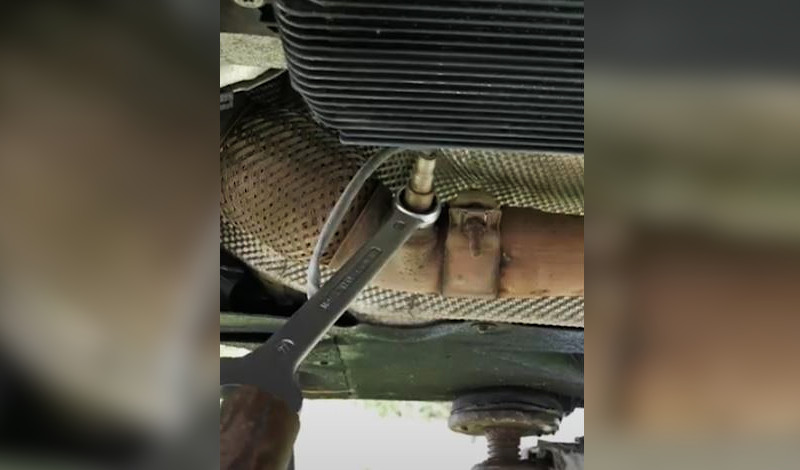
so that you can reach it with a wrench.
Step 3: Install new lambda sensor (diagnostic sensor)
The installation of the new sensor is done in the reverse order of the removal of the old sensor. Screw the diagnostic sensor back on tightly, route the cable to the connector again, and screw everything back together as it was before. Done.
Step 4: Delete Error Codes and Test Drive
Now you can delete the existing error code again and start the car. Take a short test drive at low speed and observe how the engine behaves. If you don't notice anything unusual related to the fuel injection regulation, the repair was successful. However, if you notice something and the error code reappears, the cause lies elsewhere. Other possible causes could be:
*Favorable offers for Oxygen Sensors can be found here:
* Affiliate links are marked with a *. Nothing changes for you and the offer/price remains the same. You can find more information about affiliate links here.
More Articles
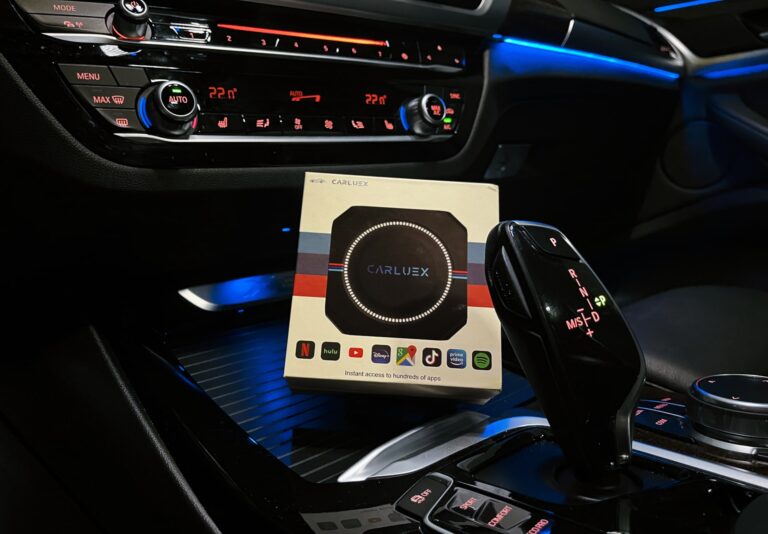
BMW Android Auto & Carplay retrofit | Plug & Play | CARLUEX
BMW Android Auto & Carplay retrofitCARLUEX Experience Are you driving a BMW built before 2020 and want to finally use Android Auto?...
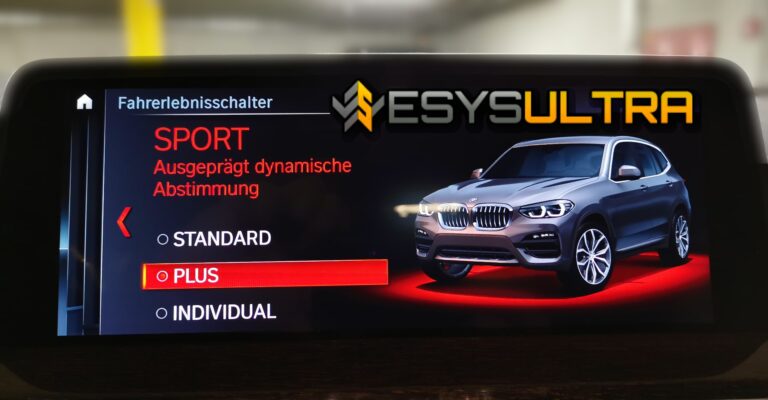
BMW Sport Plus coding: Unlocking driving mode - instructions
BMW Sport & Comfort Plus codingUnlocking driving mode - BMW coding made easy - In this guide you will learn step by step how to...
BMW coding software comparison 2025 | ESys, BimmerCode & Co
BMW Coding Software ComparisonESys, BimmerCode & Co. There are now countless tools for coding a BMW. Different software providers offer...