URVOLAX Android 13 Car Radio
Installation & Test in the Golf 5
Why choose the URVOLAX Android 13 car radio?
The URVOLAX Android 13 car radio is the perfect choice for drivers looking for a modern, multifunctional radio while still appreciating the classic control of physical buttons. These buttons are easy to use without taking your eyes off the road and bring back a bit of that “old-school” feeling.
The fact that a DAB+ antenna is included and that two applications can be used simultaneously via split-screen is a rare and highly appreciated feature. Additionally, with this Android radio, CarPlay is actually free and easy to use.

This radio is perfect for tech enthusiasts who value a modern and versatile infotainment system without compromising on ease of use. Moreover, the URVOLAX car radio is among the top-tier Android radios on the market, especially in terms of price-performance ratio.
But what is the main reason why you should switch to an Android radio like the URVOLAX?
It’s simple. Just compare it to your original car radio. If we take the old Golf 5 as an example, it quickly becomes clear why people today want more features and entertainment. Even in newer vehicles, the multimedia offerings are often quite limited.

- 【Unique Buttons on the Car Radio】 This Android car radio is universal and designed to fit various types of original 1-DIN…
- 【DAB+ Android 13】 This 1-DIN CarPlay car radio comes with a DAB antenna, allowing you to enjoy a variety of local radio stations. The…
- 【Apple CarPlay and Android Auto】 This 1-DIN car radio with a screen can be synchronized with both iPhone and Android phones via Bluetooth. Through…
- 【10.1-inch QLED Screen with SWC】 The phone screen can be mirrored onto this 10.1-inch QLED 1280… for a larger and crystal-clear display.
Overview of All Special Features
The URVOLAX Android 13 car radio offers the following selection of special features:

Technical Details
The car radio impresses with market-ready hardware and modern software. Here is a detailed overview of the key technical specifications:

Pros & Cons
As with any device, there are pros and cons. Here are the key points:
Pros:
Cons:
Included Accessories & Adapters
The URVOLAX Android 13 car radio package includes the following components, although most are simply plugged into the radio and not used:

This package is specifically designed for the installation in a vehicle with 1-DIN multimedia equipment and an ISO connector. For installation in a car with 2-DIN equipment and a Quadlock connector, additional adapters are required. See the next chapter.

Which adapters are additionally required?
Für den Einbau in einem Golf 5 oder sonstigen Fahrzeugen mit 2-DIN Baugröße und einem standardisierten
Quadlock-Stecker erfordert es:


ISO 16 PIN to Quadlock adapter: *
DIN ISO 16 PIN Canbus adapter connector car radio wiring harness for VW Android radio

These adapters are easily available online and are actually already standard for every radio retrofit. If you want to learn more about the additional adapters, you can simply check the previous posts about various Android radios.
Instructions: Installing the URVOLAX Android Radio
Here we will show you how to install the URVOLAX UR92A Android Radio * step-by-step in a VW Golf 5. This guide can be applied to almost all cars that have the 2-DIN size for the multimedia unit and are being converted to 1-DIN.
Step 1: Prepare the URVOLAX car radio
Prepare the car radio in its disassembled state so that it can easily be connected with Plug-and-Play.
To ensure that the device functions perfectly without any potential issues, insert all the included adapters into the radio, even if you may not need all of them. However, the included external microphone is optional and can be skipped if necessary, as the Android radio already has a built-in microphone.

Since we will be using the external adapter for the main wiring harness in the Golf 5, we do not need the main wiring harnesses included in the package. In this case, plug one end of the external Quadlock adapter into the CAN-BUS decoder and the other end into the Android radio.

Step 2: Properly remove the old radio
To remove the original Golf 5 radio, you must first pry out the upper compartment using a removal tool and unscrew a Torx screw. Then, you can remove part of the upper trim and unscrew the next two Torx screws.

After that, you can simply unclip the upper dashboard. The lower panel is secured with two Torx screws and can also be easily unclipped after unscrewing them.

Now, simply unscrew the four visible screws that hold the radio in place using a Torx screwdriver. When pulling out the radio, you also need to slightly bend the two side “plastic stubs” to remove the old radio.

Then, disconnect the Quadlock connector by simply pushing the lever up and pulling the connector out. Finally, remove the antenna connector and unscrew the grounding from the old radio.

Step 3: Installing the 2-DIN to 1-DIN adapter (trim)
The next step is to secure the external trim (2-DIN to 1-DIN adapter) with the four screws previously removed in the radio slot. The holes are perfectly aligned, and the metal frame provided by Urvolax can easily be inserted into the trim. Unfortunately, the practical compartment in the second half of the trim will be very limited in use due to the size of the screen.

Don't forget to reattach the previously installed trim (which surrounded the old radio). Once the new radio is fully wired, you won't be able to place the trim over the large screen anymore.
Step 4: Wiring harness
We generally recommend routing the USB ports into the glove compartment and leaving them there. This placement is the easiest, and the ports remain easily accessible when needed.
Since you have already completed most of the wiring in Step 1, all that remains is to connect the external adapter (Quadlock) and the antenna. When using an external Quadlock adapter with a CAN-BUS decoder (which is usually the case), you should leave the connector with the red and orange cables unplugged. This ensures that your permanent power and ignition power continue to function correctly for turning the radio on and off.

If you want to use FM and AM or have an antenna amplifier, you need to purchase an external antenna adapter. We are satisfied with FM only and plug the antenna adapter provided by Urvolax (Fakra to ISO) into the darker Fakra socket.

Step 5: Install the URVOLAX Radio
You can now simply insert the connected radio into the upper compartment of the 2-DIN to 1-DIN adapter, and you're done. Check if everything is properly in place and turn on the radio. The first startup may take a while as the radio updates its configuration.

Step 6: Factory settings & Test
Almost done! You just need to select the correct CAN-BUS interface. To do this, navigate to the hidden menu under "Settings" → "Factory". There, you need to enter the password "123456" and then select your respective CAN-BUS interface and vehicle model from the menu.


If everything worked, you should be able to capture and display vehicle data such as open doors or engine RPM (if available).

If it didn’t work, you just need to try other interfaces and go through the options. One of the interfaces will definitely work. Otherwise, the information on the CAN-BUS decoder will also help you.
Step 7: Install DAB+ Antenna
Remove the trim from the "A"-pillar on the passenger side. Then peel off the protective film from the black film and the transparent film. Stick the black film onto the metal of the "A"-pillar and the transparent film onto the windshield. If the metal of your A-pillar is painted, you should scratch off some paint to ensure a connection with the car's ground (paint does not conduct).

Then secure the cable along the A-pillar and route the USB cable to the glove compartment, and reinstall the trim. Be careful not to damage the black film. Finally, plug the USB cable from the antenna into the previously routed USB port in the glove compartment. Also, use the 4-pin USB connection, not the 6-pin USB connection.
Conclusion: How good is the URVOLAX Android Radio?
The URVOLAX Android 13 car radio impresses with a successful blend of classic controls and cutting-edge technology. In principle, the device can do everything that other Android radios can. However, based on our tests, we are convinced that the URVOLAX Android 13 car radio is slightly more stable than its competitors in terms of performance and power. During the past few weeks of testing, no stutters or delays were observed. Whether this will remain the case remains to be seen.
The fact that Carplay and Android Radio are free, splitscreen is allowed, and an external DAB antenna is included, is impressive and noteworthy compared to other Android radios. In our video, you can see most of the features of the Android radio in action.

In addition, the car radio excels with its high flexibility and the ability to customize it to your needs. The physical control via buttons is a clear advantage for those who prefer simple and safe operation while driving. Furthermore, in our opinion, the buttons simply look great.
The radio is perfect for anyone who expects more from their radio and values a modern and versatile infotainment system, without compromising on user-friendliness.
- 【Unique Buttons on the Car Radio】 This Android car radio is universal and designed to fit various types of original 1-DIN…
- 【DAB+ Android 13】 This 1-DIN CarPlay car radio comes with a DAB antenna, allowing you to enjoy a variety of local radio stations. The…
- 【Apple CarPlay and Android Auto】 This 1-DIN car radio with a screen can be synchronized with both iPhone and Android phones via Bluetooth. Through…
- 【10.1-inch QLED Screen with SWC】 The phone screen can be mirrored onto this 10.1-inch QLED 1280… for a larger and crystal-clear display.
Affiliate links are marked with a *. When you purchase one of these products, we receive a small commission. Nothing changes for you and the offer/price remains the same. You can find more information about affiliate links here.
More Articles
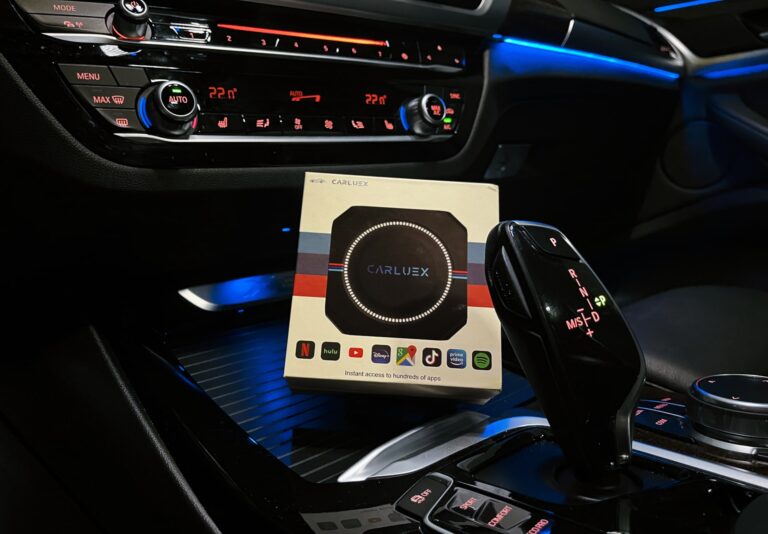
BMW Android Auto & Carplay retrofit | Plug & Play | CARLUEX
BMW Android Auto & Carplay retrofitCARLUEX Experience Are you driving a BMW built before 2020 and want to finally use Android Auto?...
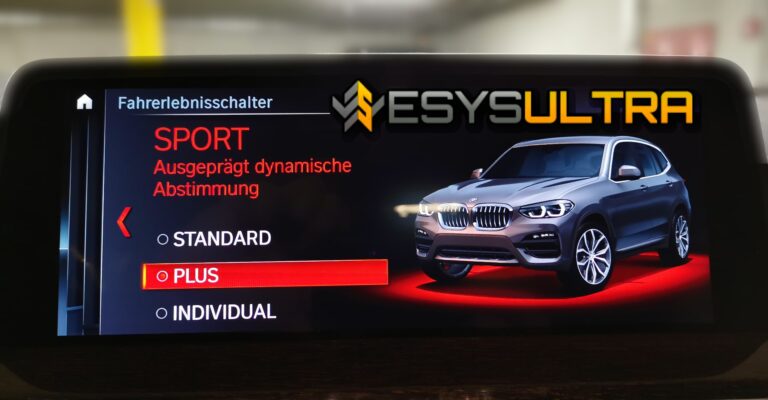
BMW Sport Plus coding: Unlocking driving mode - instructions
BMW Sport & Comfort Plus codingUnlocking driving mode - BMW coding made easy - In this guide you will learn step by step how to...
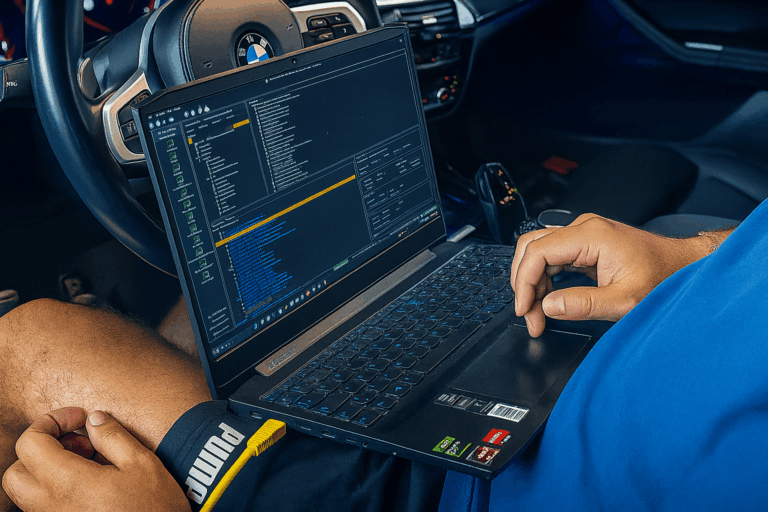
BMW coding software comparison 2025 | ESys, BimmerCode & Co
BMW Coding Software ComparisonESys, BimmerCode & Co. There are now countless tools for coding a BMW. Different software providers offer...